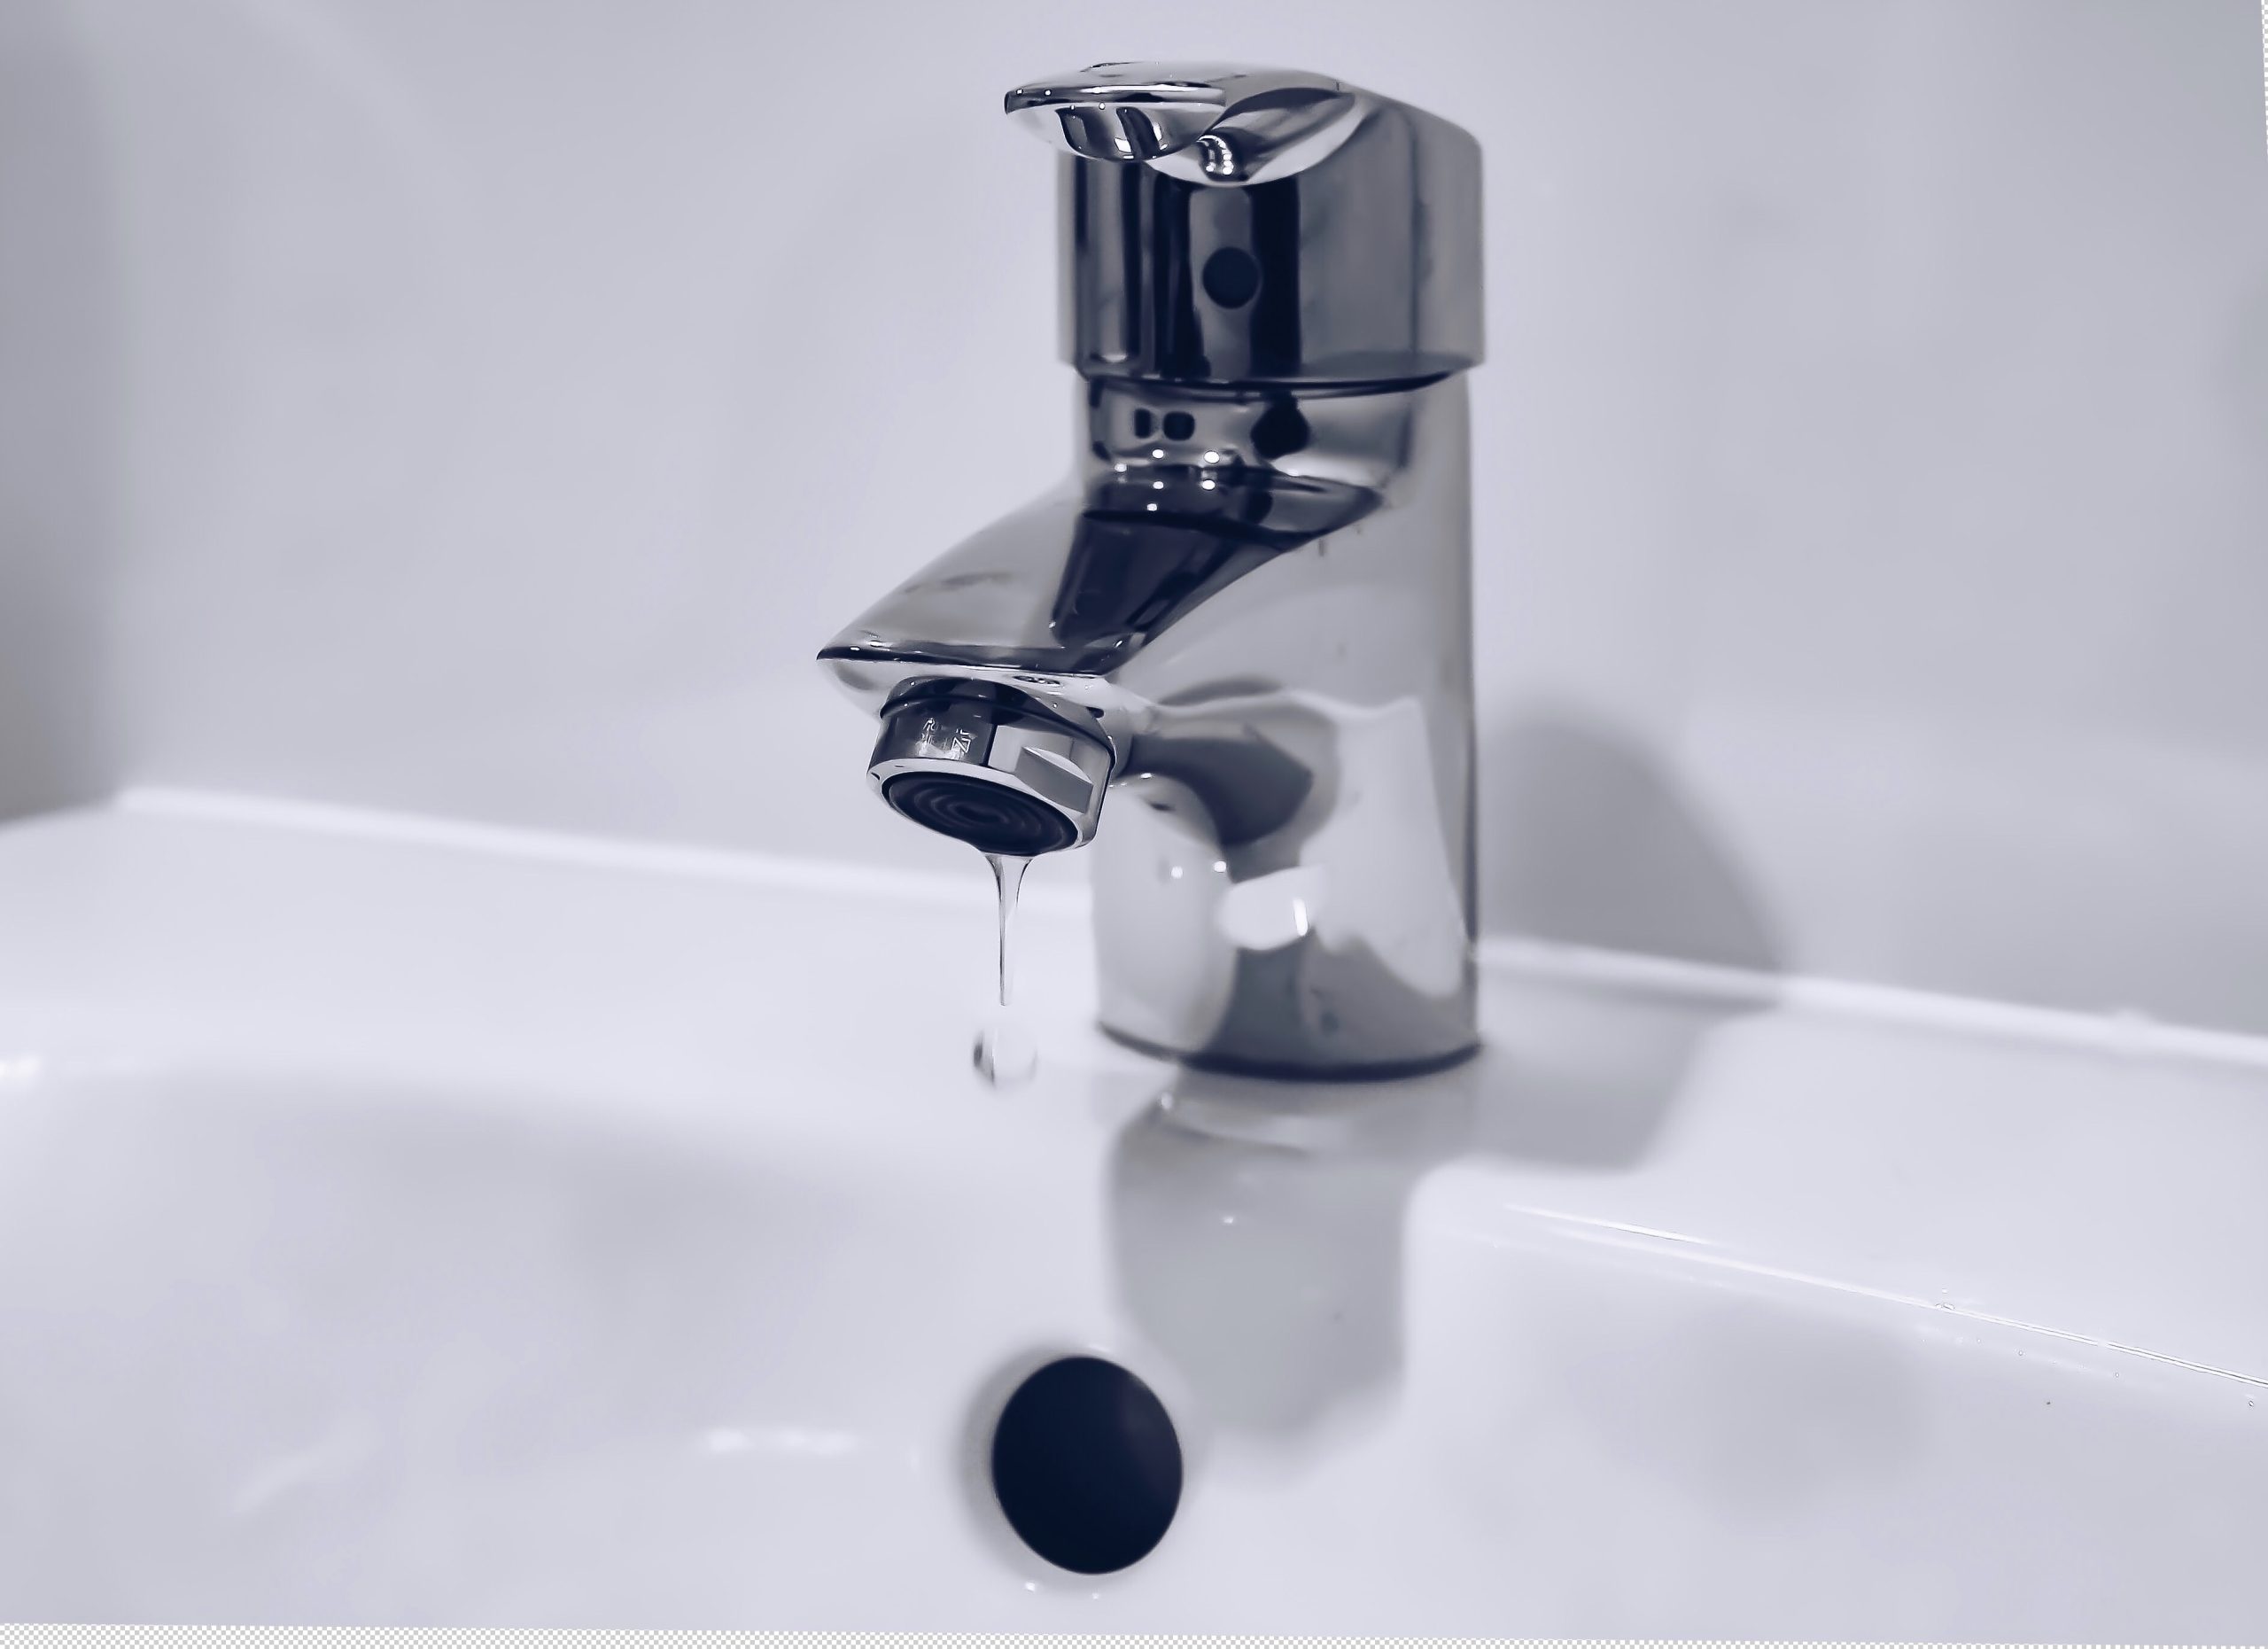
Do you have a faucet that is constantly leaking? Not only is a leaking faucet a minor annoyance, it can waste more than 3,000 gallons of water each year. That is a lot of wasted water that can add anywhere from $20 to $200 or more to your annual water bill. Additionally if you don’t fix the leak quickly, you may discover water damage or plumbing issues down the line that will come with a hefty price tag to repair. Fortunately, fixing a leaking faucet requires just a bit of time and patience.
Determine the Cause of the Leak
There comes a point when all faucets require maintenance as the components degrade from wear and tear. Age, use, and deterioration are typically the culprit when it comes to a leaky faucet and can range from a simple fix to a more complex task. To determine the most likely cause for your leaky faucet, examine the following components:
-
Loose Parts: Check the packing nuts and adjusting rings in the stem screw of your faucet to see if they are loose. These components can cause water to leak from the handle area and a quick tightening may solve the issue.
-
Worn Seals: As sediments build up in your faucet, the outlet and inlet seals may begin to deteriorate. Get into the habit of regularly cleaning the sediment from these seals to extend their lifespan. If cleaning doesn’t help, replacements are inexpensive and quick to replace.
-
Washers: When you use your faucet, the internal washer is pressed against the valve seat. This causes friction which eventually leads to a leaky faucet. Perhaps the washer is the incorrect size or installed incorrectly which can also cause a leak. Replace the washer and ensure that it is the correct size to stop your faucet from leaking.
-
O-ring: O-rings are used in your faucet handle and eventually stretch or degrade. After repeated use of the faucet, the O-ring will begin to deteriorate and cause a leak from the handle area. O-rings are quick and easy to replace and usually solves the problem
-
Valve Seat: A valve seat is what connects the faucet to the spout. Over time, sediment builds up and begins to corrode the valve seat, leading to a leak. You can avoid a corroded valve seat through regular cleaning and maintenance.
If none of these components appear to fix the leak, there may be broken fittings or pipes that are affecting your faucet’s water pressure. In this case, it is best to consult a plumber for pipe inspections.
Step by Step Guide to Fix a Leaky Faucet
Before you begin fixing the leak, examine the faucet and try to determine the cause by locating the site of the leak. The location is usually a good indicator of what needs to be fixed, cleaned, or replaced. Once you have an idea for why the leak is occurring, you will need the following tools:
-
Replacement parts
-
Adjustable wrench and a C wrench
-
Flat-head/Phillips-head screwdriver
-
Penetrating oil
-
Distilled white vinegar
-
Scrubbing pad
-
Rags
1. Turn Off the Water
The first step to repairing your leaky faucet is to turn off the water.
2. Ready Your Tools and the Faucet
Ensure that you have the required tools on hand to streamline the repair. Consider wrapping your wrench with duct tape to avoid scratching the fixture. Close and cover the drain to avoid losing any small loose parts during the repair.
3. Remove the Handles
Remove the handles from your faucet by prying them off with a flat-head screwdriver. Then locate the screw under the knobs and unscrew them. If you find resistance, apply penetrating oil until the screws loosen.
4. Examine the Packing Nut
Loosen the packing nut with a wrench and remove the stem by popping it off the valve. Examine the parts for deterioration or damage.
5. Examine the O-Ring and Washer
Next, examine the washer and O-ring found in the faucet’s valve seat.
6. Clean the Valve
Inspect the interior of the valve for sediment accumulation or deteriorated gaskets. Sediment can be cleaned with vinegar and a scrubbing pad. Next, clean any holes in the faucet with a pen knife.
7. Reassemble the Faucet
Reassemble your faucet in the reverse order of disassembly. Make sure you do not forget any components during the process and if you need replacement parts, bring the old part to your local hardware store to ensure that it is the correct size.
8. Check for Leaks
After reassembly, turn the water supply back on and slowly test your faucet. If the leak persists, it may be time to call a professional plumber.


